
I was able to make a little progress on the flat car project today. I’ve got the main beams attached to the sill plates (so it’s starting to look like a flat car) so the next step was bridge beams.

The trouble with the bridge beams is you need to compensate for a slight height difference between the inner beams and the outer beams. It’s about a 2 scale inch difference (which is a bit more than half a millimeter). So my task was to make a 4 scale foot long beam and angle the bottom so one side is full height and the other 2 scale inches shorter. My first attempt was cutting it. This ended up being more of an exercise in carving and sanding smooth. It worked but was kind of a mess so I ended up doing it a new way.
First I put a small notch in one end of the beam

Then I sanded it trying to keep the un-notched end unchanged
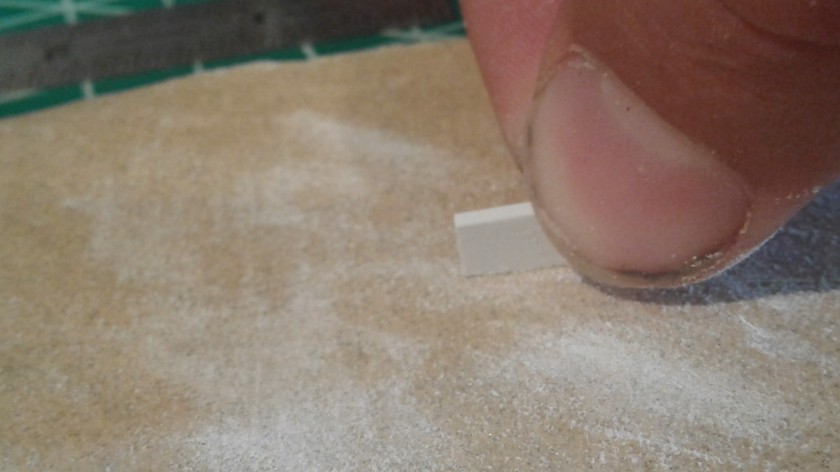
That was a slightly awkward picture to take. It didn’t take much sanding to get what I wanted, definitely faster than trying to cut it.

Then it’s just installing them, it’s a little fiddly but if you have a slower glue it’s not too hard to make sure they are in position

This project has gotten more and more fun for me, it’s almost relaxing to come fiddle with little bits . I’ve got some ideas for paint scheme and lettering but I’m quite a way out from that so that’ll be a future topic 🙂

Another approach to getting the angle on a small part is to create a big part and cut away the bit you don’t need.
In this case, you could probably get all your cross-bearers out of a single piece of styrene with a shallowly-angled scribed line. Break that into cross-bearer-length sections. Most will be too deep, so you would need to make them shallower. However, that is something you could do after gluing them in place by simply filing or sanding across the top of the underframe.
Well, maybe it would work and save you some fingernails, and maybe your way is better. It’s good that you’re starting to find the process relaxing.
No fingernails were harmed in the building of this flat car (yet at least). The picture makes it look worse than it is because I was trying to get an example picture while holding a cellphone in a good location to take a picture with my other hand.
I also considered making a jig to hold the pieces at the right angle to trim it with my chopper but opted to skip that for this one and revisit it on later builds.